

A Step-By-Step Guide On How To Start A Compost Bin Outdoors in Your Backyard
This step-by-step guide shows you how to make up to $2,000 of quality compost, every year, for your indoor and outdoor plants.
Composting can be EASY with The Thirsty Earth olla watering system + GEOBIN outdoor compost bins.
This compost method simplifies how to make compost at home.
No more turning.
No more watering every few days.
And you'll use 80% less water.
Check it out:
How To Compost At Home, Easily – Video Transcription:
Hi, I'm Eric with the Thirsty Earth, and I'm going to show you one of the simplest, easiest backyard composting systems there is. Let's get started.
With this system, you can compost up to $2,000 worth of quality compost every year for your plants.
At the Thirsty Earth we've developed the simplest, easiest backyard composting system on the market.
No more turning, no more watering every couple of days, and you'll use 80% less water.
Why Compost At Home?
Compost is superfood for your plants, trees, shrubs, grasses, and especially your garden. Composting your waste is one of the best things you can do for the environment, making sure much of your waste doesn't end up in the landfill.
The Thirsty Earth Oudoor Compost Bin System Explained:
We prefer using these two bins over loose piles because
1: Piles attracts rodents.
2: If your pets eat the compost before it's done cooking, it can make them really sick.
3: You use a lot of water on piles
4: The GEOBIN outdoor compost bin holds the compost together more densely, which is better for the composting process,
5: Piles are prone to leaves, grass clippings, and similar materials blowing away with the wind.
Tumblers are not my favorite because you have to tumble them every couple of days and you have to water them every couple of days.
And they don't have enough volume to really get the process going properly. They're just not great.
How The Set Up The Thirsty Earth Outdoor Composting Bin and Watering System:
This is the Thirsty Earth composting system. Let's check out how it's done. It is got that rich earthy smell. It's going to be perfect for your garden. Our system has simplified backyard composting.
Here's how to set up your outdoor compost system:
Step 1: The first thing you'll do is take a 50/50 mixture of browns and greens, fill up your compost bin, layering it and watering in each layer like it's lasagna (more on browns and greens below).
Step 2: You'll install your thirsty Earth watering system.
Step 3: Set up your second bin so that you can continually add to it while the first one's cooking.
Step 4: When your compost is done cooking, you'll take out the Thirsty Earth Watering system and move that to the one that you've been filling up.
Step 5: Then dump out your finished compost and you have a pile to pull from for your garden.
Step 6: That composter you just dumped out, you're going to use that to add new material to feed your plants.
Ready To Start Composting? Click Here To Get Everything You Need To Get Started Now!

How To Use Your Homemade Compost To Feed Your Plants:
To feed your plants with your homemade compost, take compost like this and simply sprinkle it around on top of the root zone.
Don't push it right up against the stem of the plant. That's not healthy for it, but around it is great.
Try to apply no more than one inch per year for your plants.
What To Put Into Your Outdoor Compost Bins:
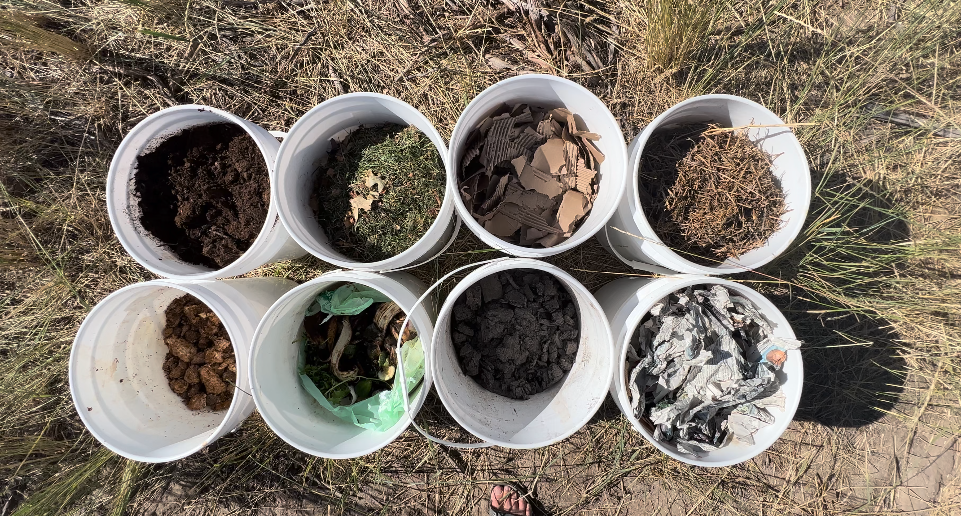
(2:57) When you're composting, you'll need a variety of ingredients. You'll need two mostly called greens and browns.
Greens are fresh, high nitrogen materials like fresh cut grass, food scraps, herbivore, manure, and even spent mushrooms, substrate.
While browns are more dry, they're just carbon, not nitrogen. Here we've got shredded cardboard, hay paper, and something kind of special, some wood ash and some charcoal.
So this is actually, this wood charcoal is going to end up as biochar as it gets activated by going through the compost process. It's one of the best things you can do for your soil.
How To Fill Your Bin:
You want to get that close to about a 50/50 ratio and then when you put it into your compost, you're going to layer them green, brown, green, brown, a bit like a lasagna, watering in each layer as you go.
What To NOT Put In Your Outdoor Compost Bin:
Inorganic materials like trash, plastics, foams, metals don't belong in your compost
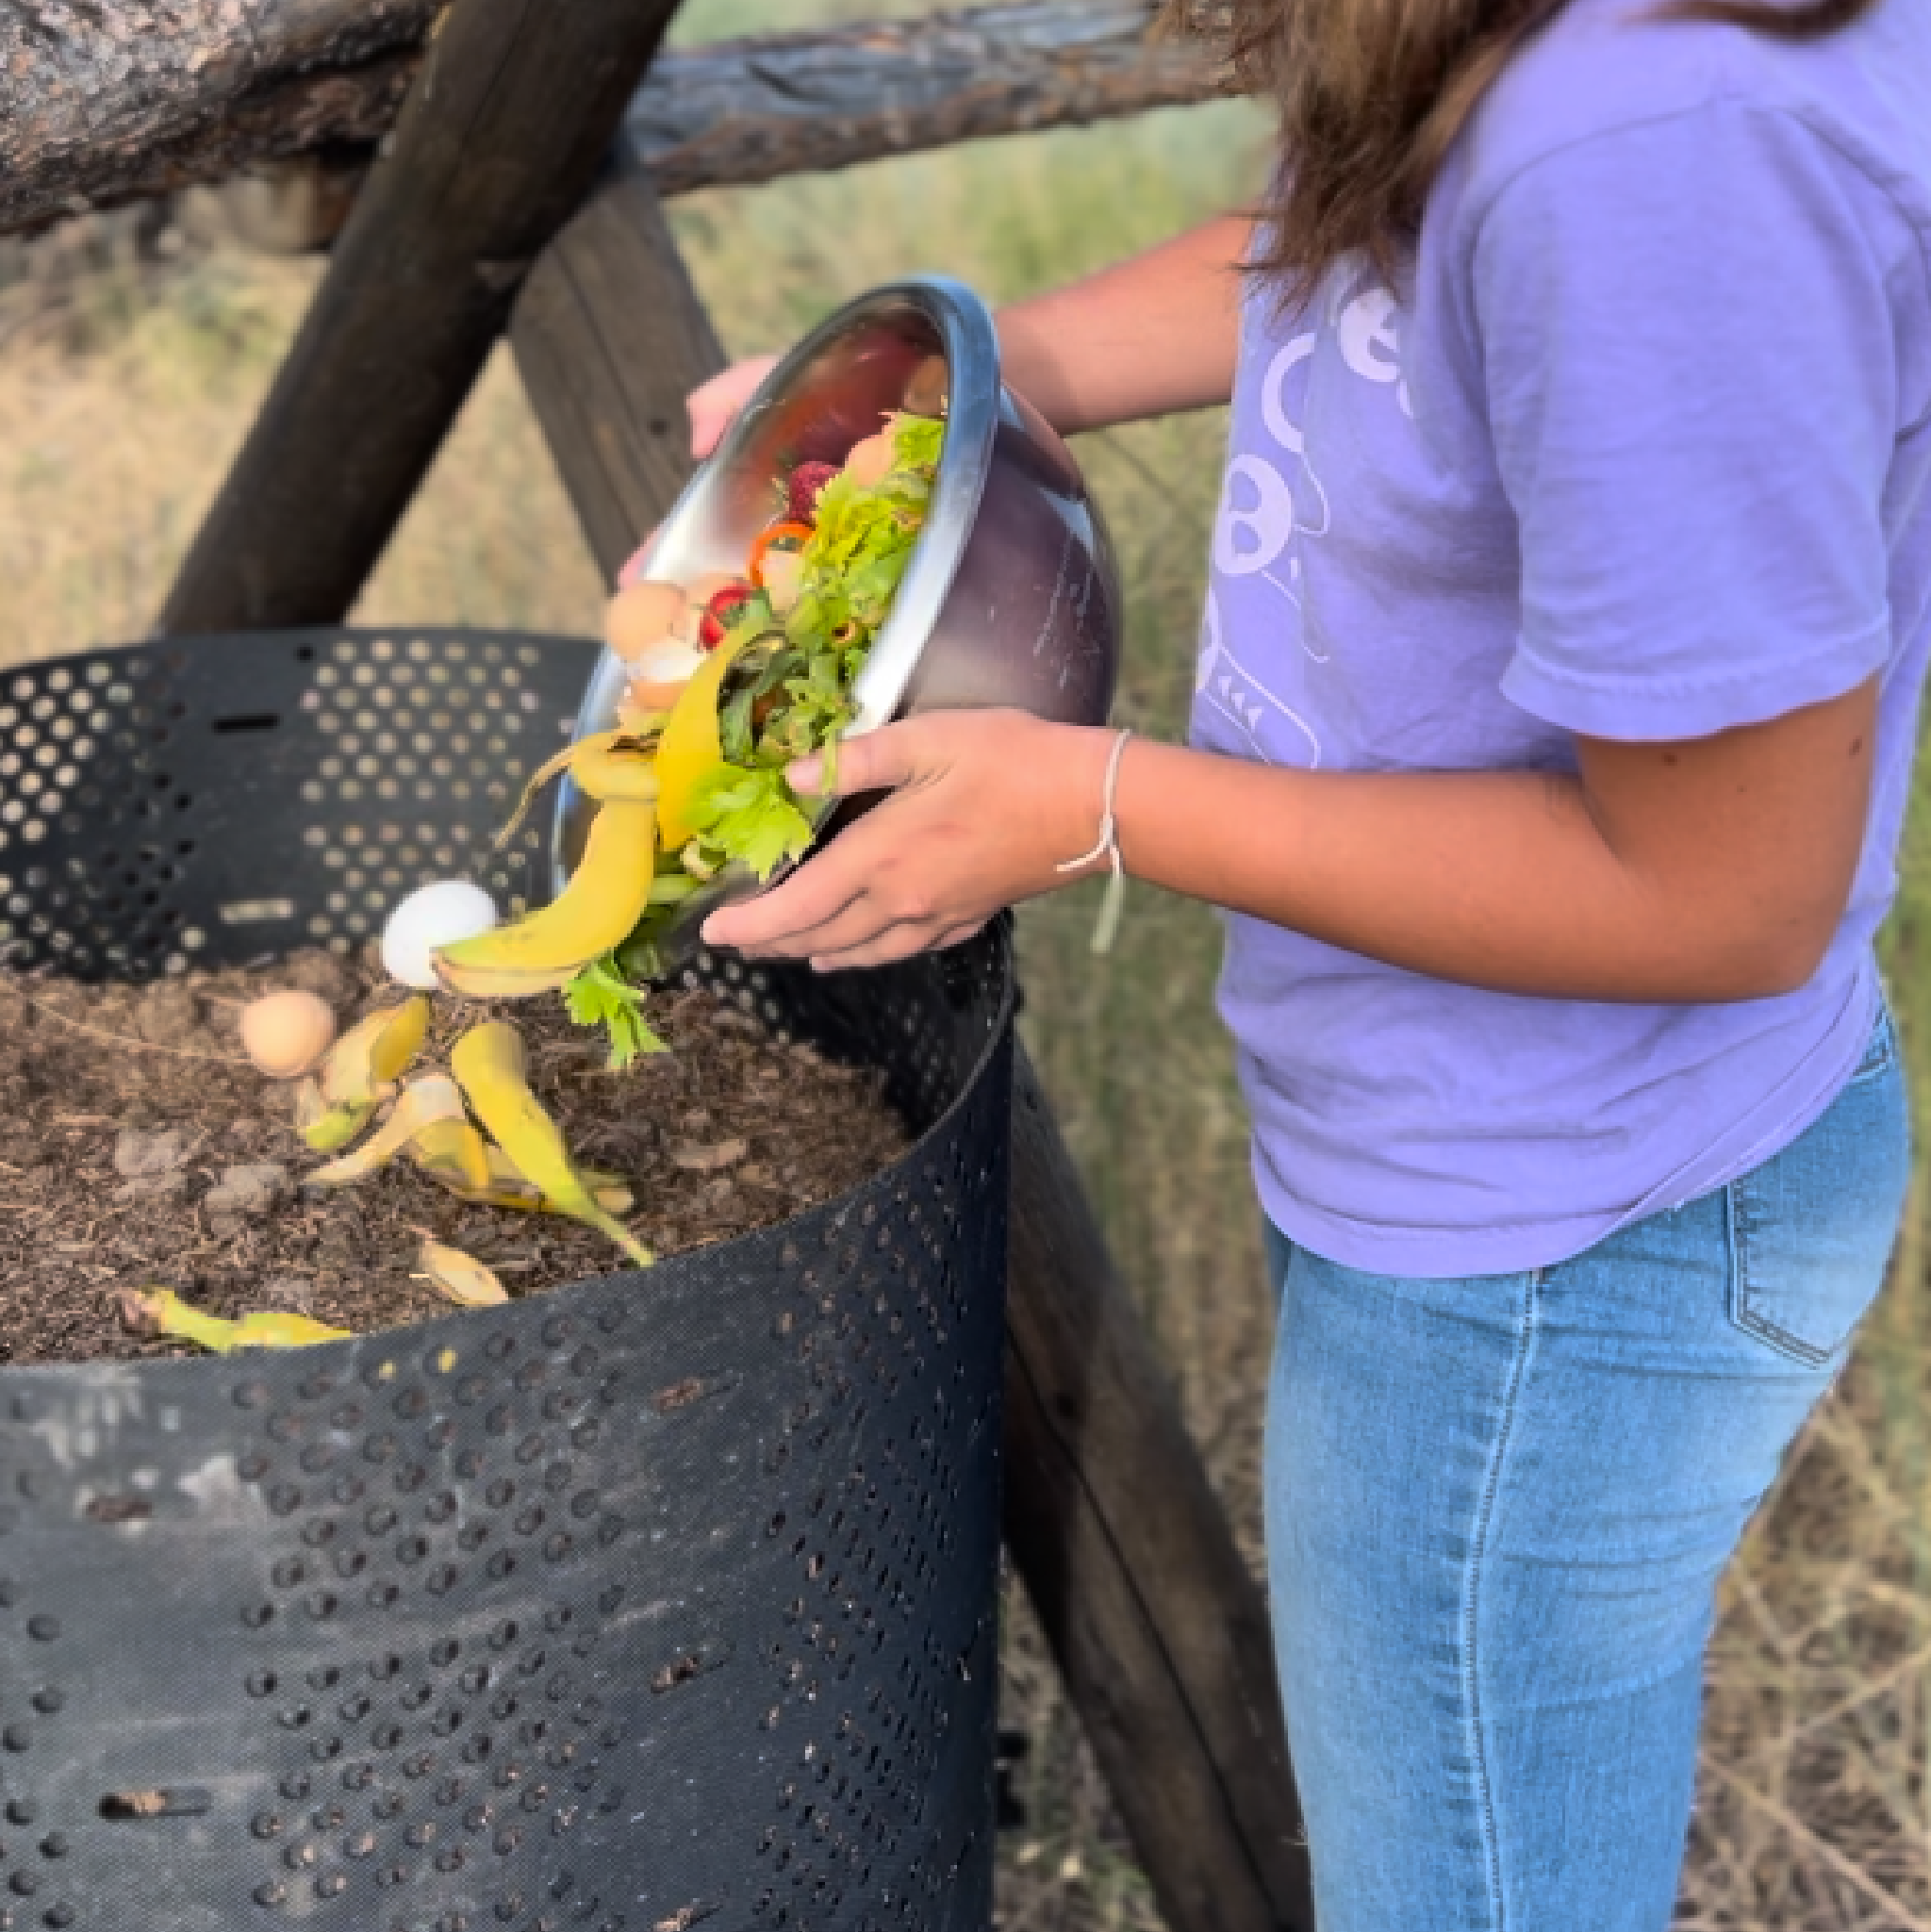
With your food scraps, you want to make sure that it's all fruit & vegetable type organic matter.
You don't want to put meats, oils and be kind of cautious with putting things like onions, garlic, lemons, citrus, because that can slow down your compost. It'll still compost. It just takes longer.
Quick tip: Pesticides and herbicides are toxic. Chemicals are designed to kill things. Unless you want to kill your garden, make sure that your grass, hay, straw or whatever you put in your compost isn't covered in them.
Tip When Filling Your Outdoor Compost Bin:
While you're layering your compost, if you find you have some bigger chunks, you don't want to create too much space, so imagine a jar that's full of rocks and then you pour in sand and it fills in the spaces. You want to do the same thing where layering in soil or manure or something that is just finer particulate will fill those gaps and that'll help the moisture get all the way through.
The essential ingredients of compost: You need water, you need airflow, you need carbon, and you need nitrogen.
Those together combine to start the process that breaks down all this into good quality compost.
Another Tip For Filling Your Outdoor Compost Bin:
If you've got bigger chunks in your compost, you want to break it up into smaller ones because the more fine this is, the better the compost process is going to work. More surface area, more exposure to microbes that make the compost happen, and also it'll make it easier for water to get through all of it, and you need water for compost.
How Do You Know When Your Compost Is Ready?
If you're wondering if your compost is ready, here's how to tell. Good compost is going to be, well, it's going to smell good. It's not going to be stinky or anaerobic or anything like that, and it'll be broken down into this sort of crumbly fine texture.
If you've still got big lumps and super visible ingredients like from what you put in, then it's not done cooking yet.
Click Here >> To Get Everything You Need To Get Started Composting Now!
What To Do If Your Compost Is Stinky:
If your compost is stinky, you need to work on your carbon to nitrogen ratio. You've got too much nitrogen and not enough airflow, so increase the amount of carbon, so like shredded paper, cardboard, hay, straw, dried out brown grass, that sort of thing to balance out high nitrogen materials that just tend to rot.
The other thing you want to make sure is that your compost isn't so wet that you're blocking airflow.
An Easy Way To Fill Your Outdoor Compost Bin:
We're going to fill this up with manure and hay because we have a lot of that here.
For your backyard, you might want to use fresh cut grass clippings as your green and shredded paper, cardboard, fall leaves, things like that for your browns.
How To Install Your Thirsty Earth Compost Watering System:

To install your first Thirsty Earth Compost Watering Kit, you will need to put these push to connect fittings on top of what's called the stem. Three of them are going to take a push to connect T, and then one will take a 90 degree elbow. They all form one row that ends here.
Then you dig a hole and you put them into your compost up to the level of the cap.
The terracotta all goes underground or under compost, and this is exposed tubing. You want relatively clean. When you put it into a push connect fitting, it goes right in firmly.
It's okay if the bucket goes on top of the cups.
When you open up the bleed screw, that allows the air to escape as the water's going in, and then when water comes up out of the bleed hole, you put the bleed screw back, the cup's full of water and you're good to go.
If you find your compost isn't getting enough water, you could raise your bucket up a foot or two and that'll increase the amount that comes out.
Biochar Tip:
(8:29) If you do decide to make your own biochar, this wood charcoal ends up acting like a sponge. If you put this into your garden as is, it would wick nutrients away from your plants until it was fully saturated. But if you run it through your compost first, it charges up, fills up with beneficial microbes and nutrition that will then time release into the soil. So running this through your compost creates amazing topsoil spent.
Mushroom substrate composting tip:
Mushroom substrate is another amazing thing to put in your compost. It's really high in organic matter and it's just wonderful. You'll get tons of nutrition from it, and if you're lucky, maybe some of it'll grow in there and then the mycelium, if it colonizes your compost, will help with moisture retention and keeping the structure together, but it's totally not necessary to get good quality compost, so don't worry if you don't have any.
Fun Outdoor Composting Gadgets:
If you need to get a little bit more aeration in your compost, such as if it's not getting up to temperature or if it's getting real stinky, there's a couple things you can do without having to turn it. You can take a spear just to sharpen stick and poke holes in it every so often. I like to do that about once a week if I need to, or this long drill bit will stir up your compost for you.
Some really cool, nice to haves that can help you with your composting compost thermometer.
This one goes up to 140 degrees and 140 is about where you want a hot compost to get to, but a medium temperature compost will typically run warm, 80 to a hundred.
Your compost is probably going to get warmer, and then that can actually help you keep it going over the winter. Normally we recommend that you pull out your cotta cups for the winter, but in a compost that has good temperatures, you don't have to, you can keep cooking all year long.
Then we have a moisture meter, so got, this is a moisture light and pH meter, so you can check all that, and it has dry, moist, and wet indicators you want. On the upper end of moist, just like this is here, it says wet, but it goes back down to moist in a second or two, and that'll tell you that your compost is good.
If your compost raises in temperature and then drops towards the end, you can know your compost is done cooking and it gets more back down to room temperature and calms down.